Video Editing Tips for Beginner Creators
A practical workflow—from project setup to export—plus cutting rhythm, transitions, footage prep, and fourteen techniques to level up your edits.
Popular video editors
Pick a tool for a beginner-friendly overview—platforms, pricing, strengths, and how to get started (no step-by-step UI walkthrough).
As video marketing keeps growing, more teams and solo creators need solid editing skills to meet rising production demand. Moving from a messy beginner to a confident editor takes the right approach. This guide is not just a tip list—it is a structured workflow and creative mindset designed to help newcomers start fast and help anyone with basics raise the professional feel and storytelling pace of their work.
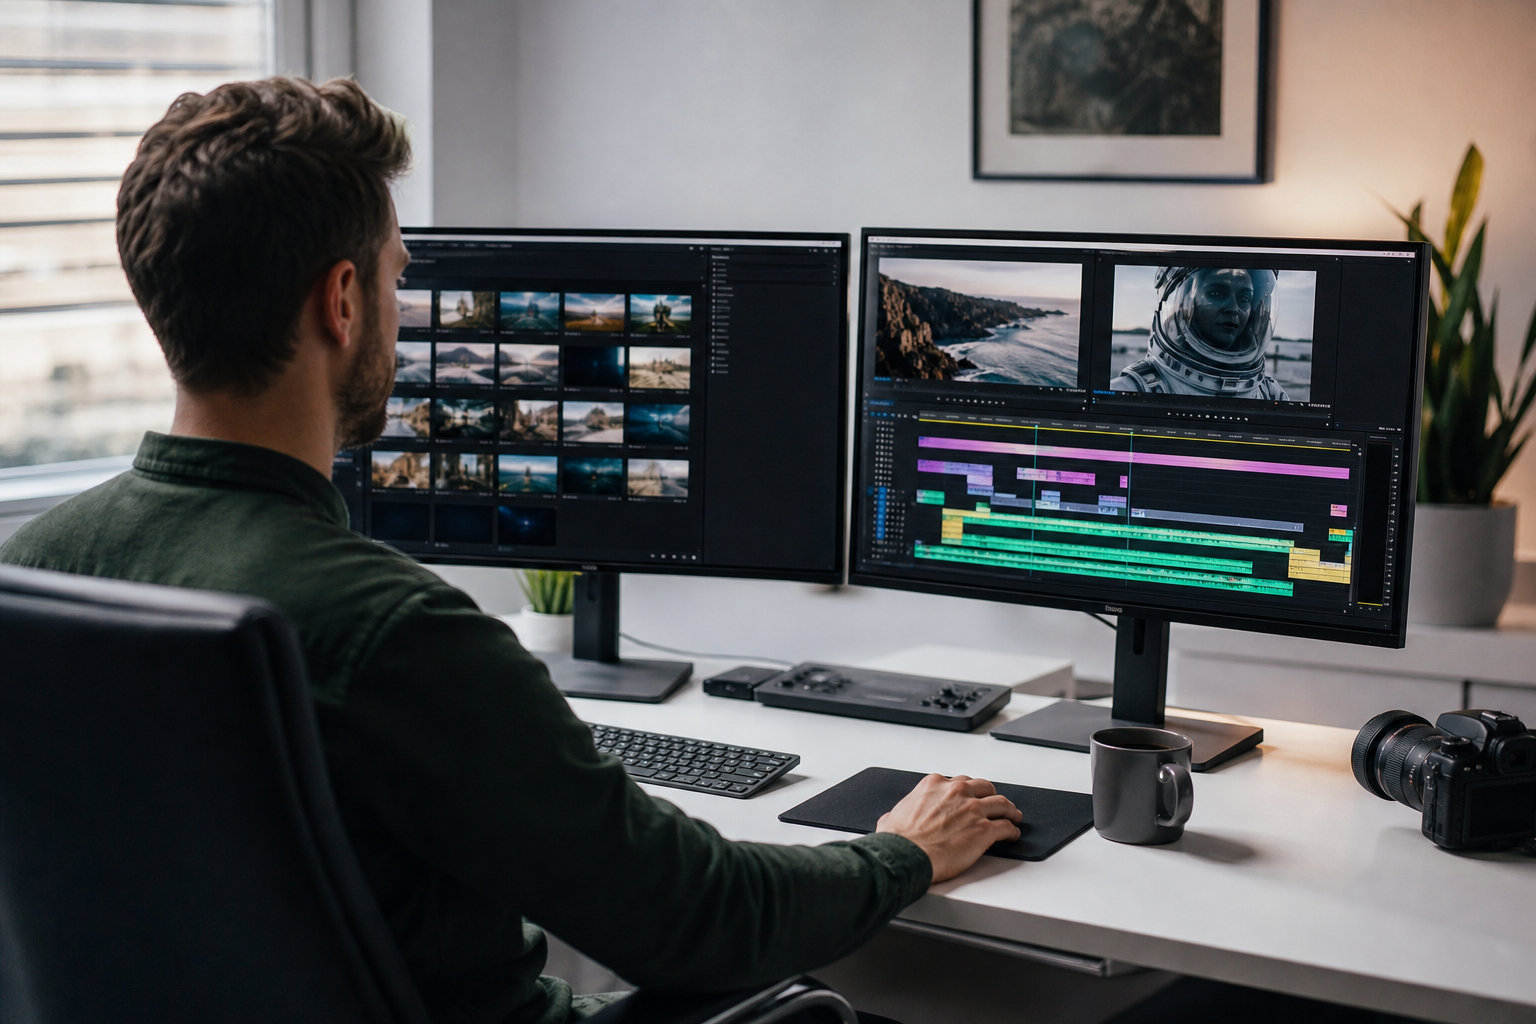
1. Build a Consistent Workflow
Avoid diving into the timeline without a plan. A clear workflow is your best efficiency tool. We recommend a simple golden path: create a new project, import and organize every asset by scene or type so nothing gets lost later, then build a sequence—that is your editing stage.
The core edit is where the story comes together: cut to script or outline, add music, and place transitions only where they earn their keep. When adjustments are done, export once with the right settings for your platform. Following these steps keeps the process calm and cuts wasted hours.
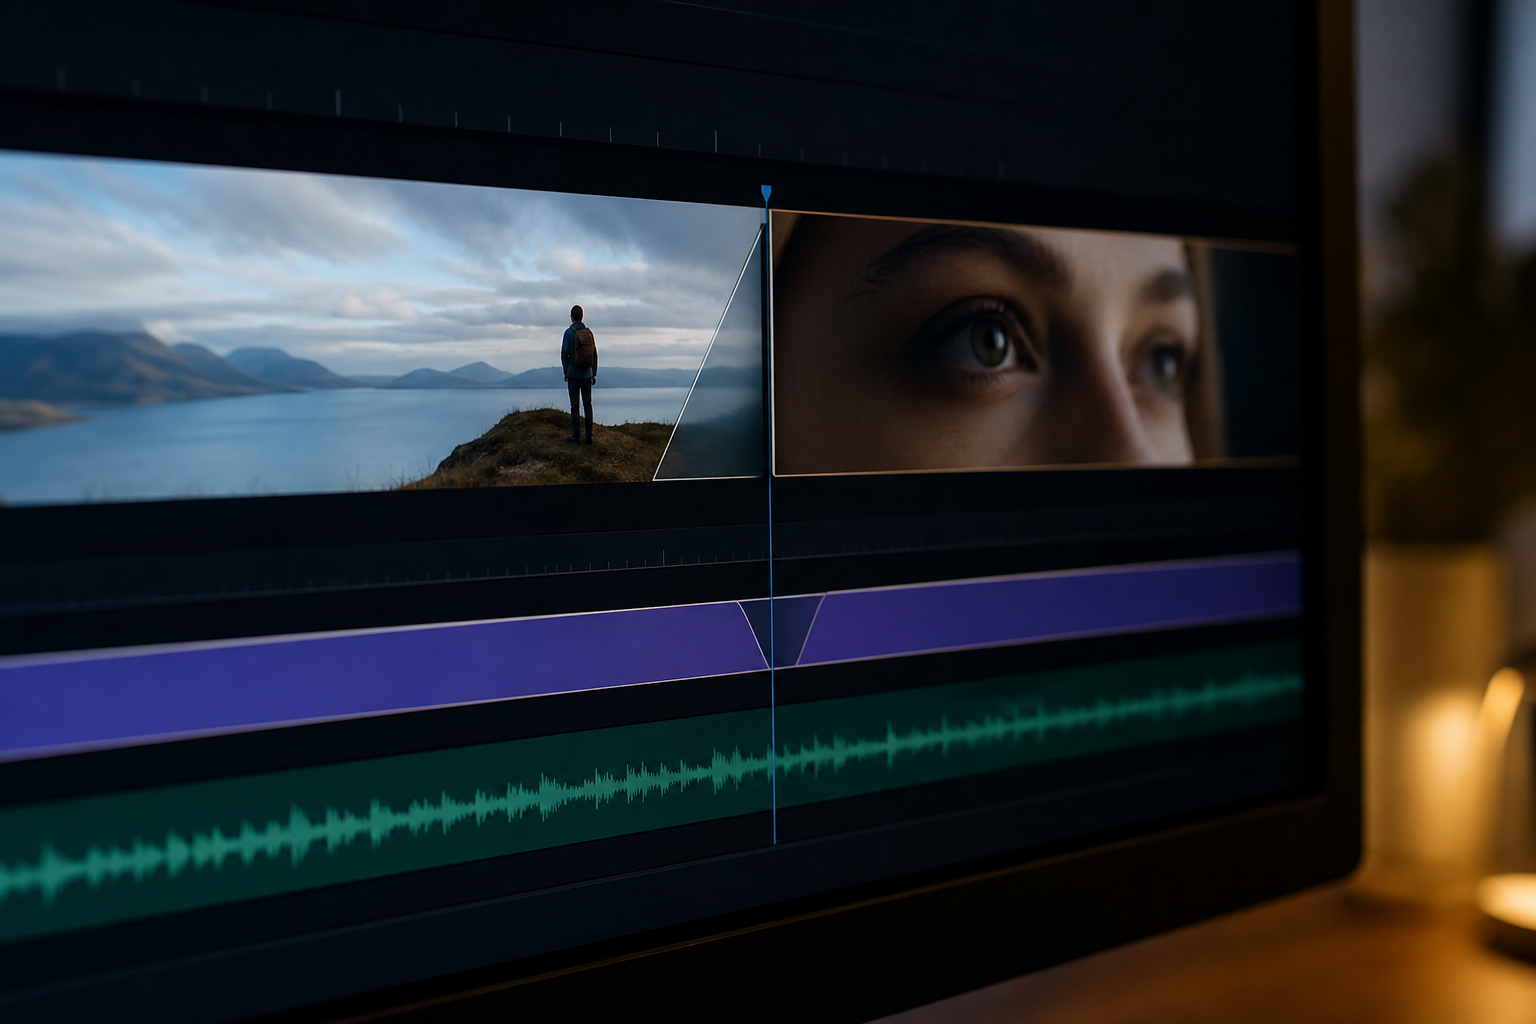
2. Smooth Cuts and Continuity
How shots connect drives how the video feels. Avoid placing two similar framings back-to-back—wide to wide or medium to medium often feels stiff. Jump across scale instead: cut from a wide establishing shot straight into a tight close-up for punch and clarity.
Transitions also set pace. Fade in and fade out work well at open and close for a relaxed tone. Straight cuts in and out highlight a detail or reaction. Masked transitions can hide a hard jump and keep motion feeling continuous.
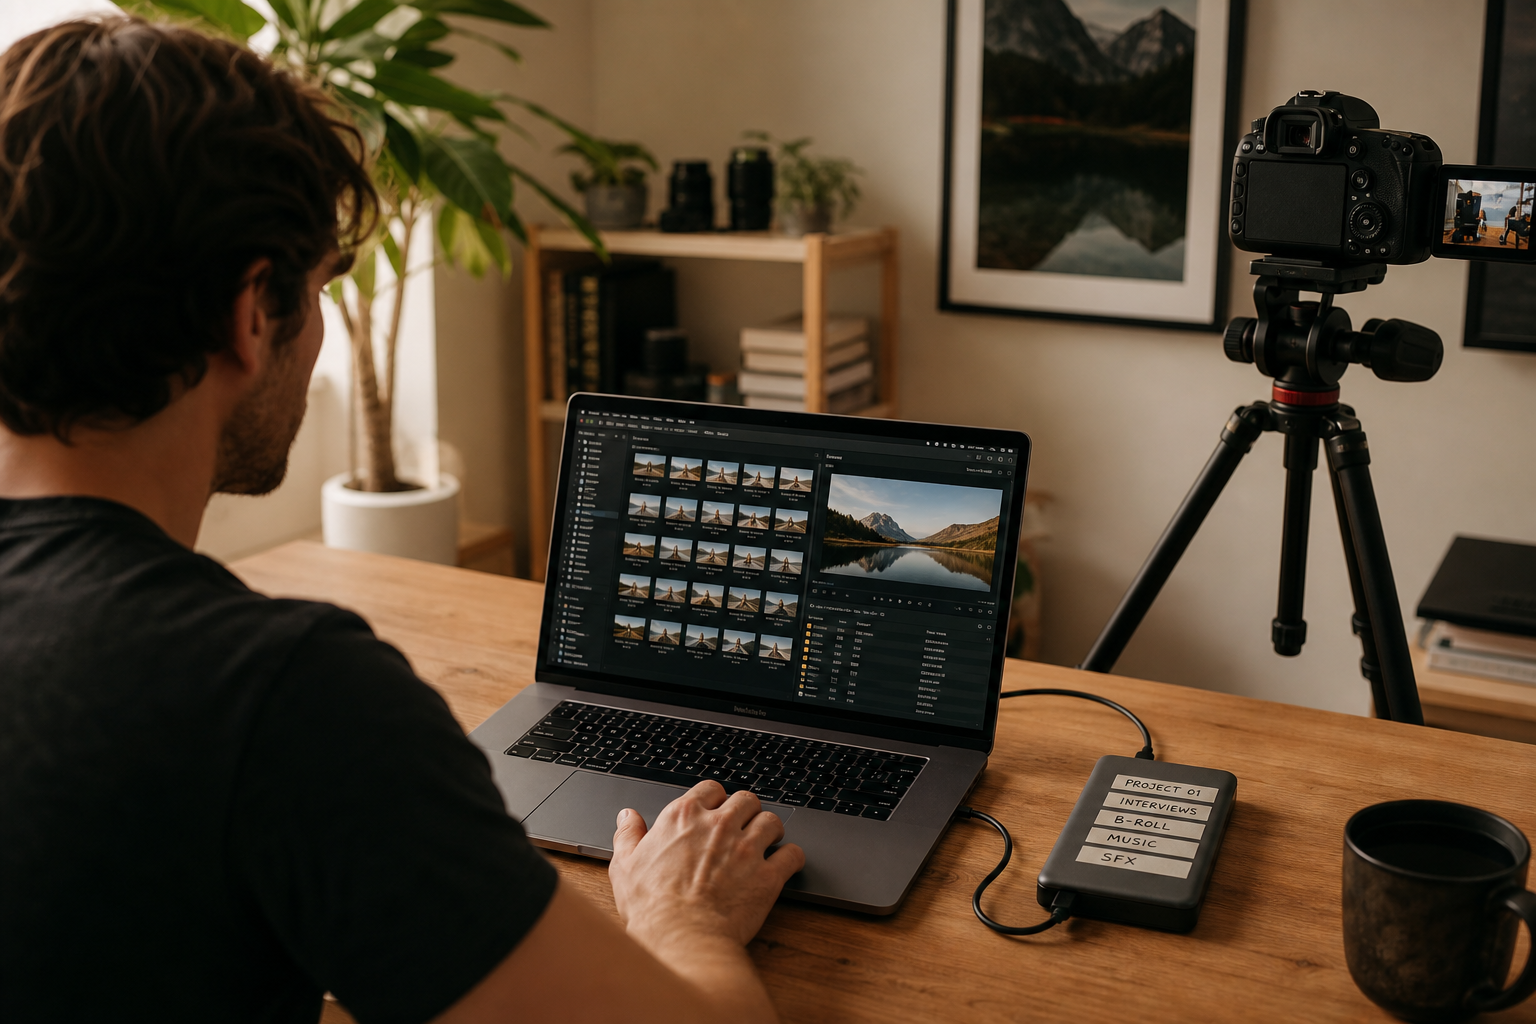
3. Prepare Footage Before You Edit
Strong edits start before the timeline. On set or during capture, lock aspect ratio early—16:9 for landscape or 9:16 for vertical—and aim for 1080p or 4K when your gear allows. MP4 is the usual delivery format.
For b-roll and stock, bookmark reliable libraries and download only what fits the story. Organized, rights-safe footage on disk saves more time than any shortcut inside the NLE.
4. Core Editing Techniques to Practice
Work through these skills in order; each one compounds the next.
- Learn your NLE deeply: cuts, trims, speed ramps, titles, and basic effects should feel automatic.
- Know editing grammar: screen direction, eyeline, and when to break rhythm on purpose.
- Control pacing: fast cuts for sports, launches, and hype; longer holds for emotion or explanation.
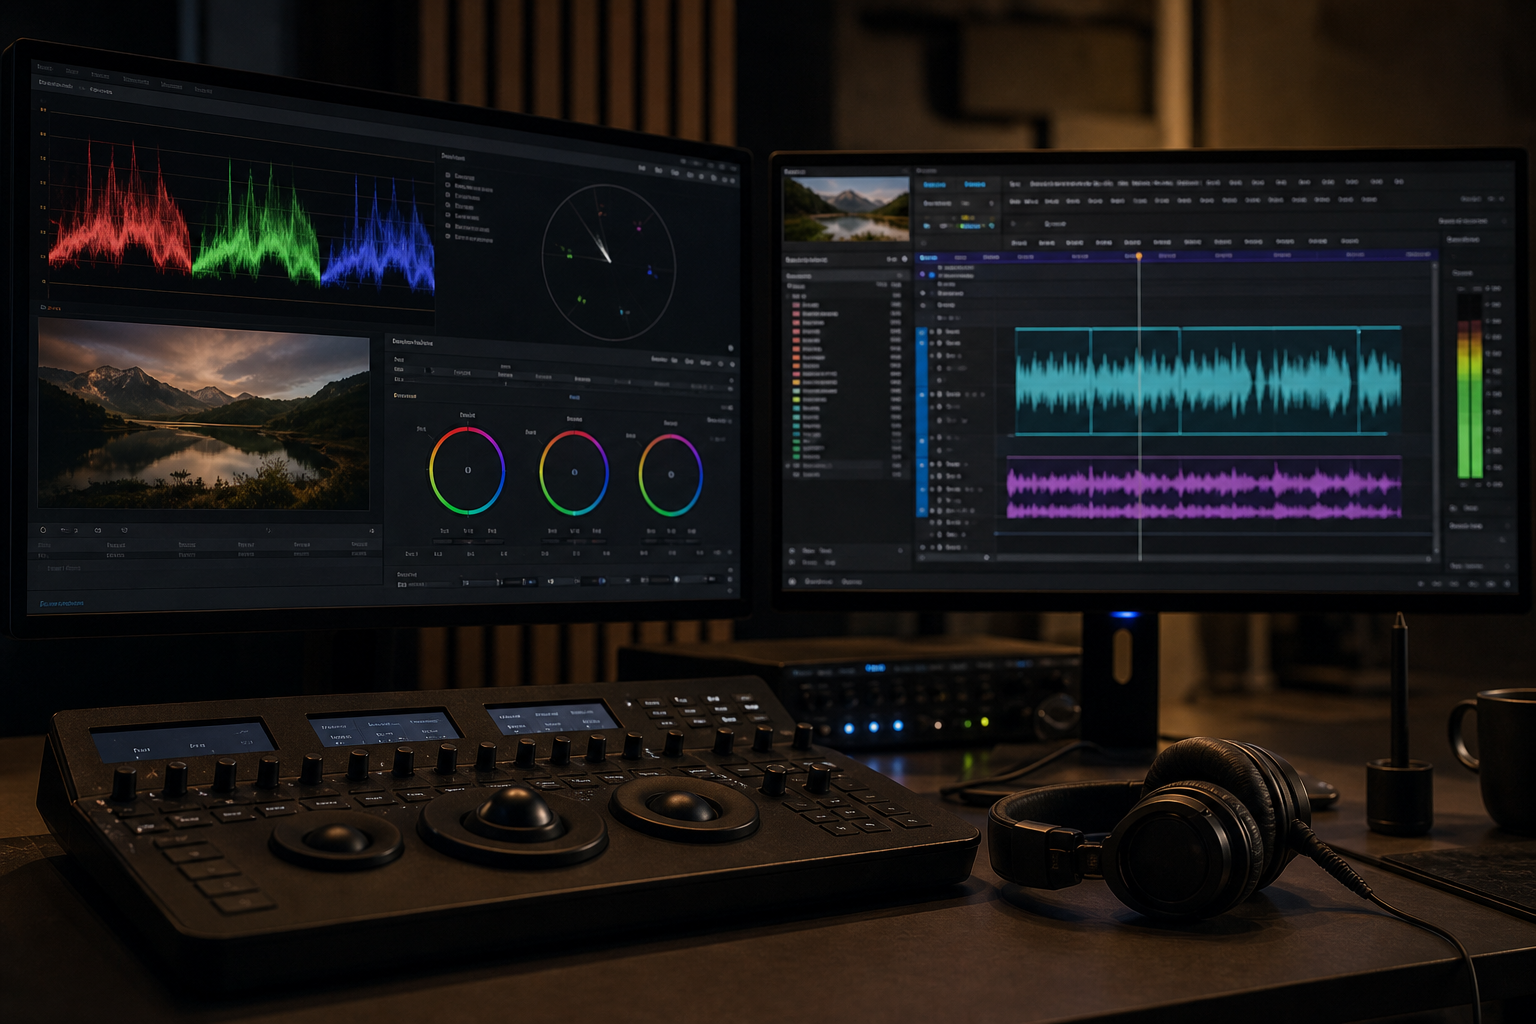
- Grade with intent: contrast, saturation, and white balance should match the mood, not defaults.
- Treat audio seriously: levels, EQ, room tone, and music ducking matter as much as picture.
- Use transitions sparingly: dissolves, flashes, and wipes only when they clarify time or tone.
- Add effects and filters that support the story—avoid presets that fight your brand look.
- Order clips for narrative pull: setup, tension, payoff; cut anything that does not move the story.
- Trim ruthlessly: remove pauses, duplicates, and tangents so the viewer stays engaged.
- Preview on target devices: phone, laptop, and headphones catch problems monitors hide.
- Edit to music: mark beats and accents, then place cuts or motion on those hits.
- Master basic transitions: cross-dissolve, fade to black, and short white flashes each have a job—use one reason per transition.
- Fix light and color on your own footage: exposure, skin tones, and consistency read as "pro" faster than heavy effects.
- Match music to message: library tracks should fit tempo and emotion; duck under dialogue so words stay clear.
Getting comfortable with these moves is the bridge from button-clicking to intentional craft. The only real test is the next project—try the workflow on a short piece, find a rhythm that feels like yours, and see what changes in retention and feedback.
That is the heart of these video editing tips. Use what fits your stack today, ignore what does not, and iterate. Small disciplined habits beat random tricks every time.